JVautozoom - Automatic ZOOM option
Automatically adds the "zoom" feature to all images on a page by defining the areas with <div id="JVautozoom"> followed by images and html </div>
Certain widgets may not work if they contain <img> elements. Just depends on the widget. If that happens, bypass that widget by adding another JVautozoom div section. Regular HTML elements are not an issue. Some combinations of image style elements may not work. If that happens either modify the html (usually it's not coded correctly, like missing a semi-colon ;) or bypass that image by adding more selective sections.
The control is coded like this:
<div id="JVautozoom> followed by ... html with as many images and other html as needed ... </div>
You can have one to many "div" sections. Each "div" area adds the ZOOM feature to all the images discovered. One single "div" can add the zoom feature to all the images on a page. Put the first <div id="JVautozoom"> at the top and then the ending </div> at the end.
<div id="JVautozoom>
<img src="location">
html ... etc
<img etc...> ... as many images as you like ...
</div>
Image Description
To put a description on an image, use alt="any description" in an image for a description. Either do this in CC editor source mode or in the CC editor, click the image, right click, pick Properties and then select Alternative Text
Image Border Color
To set a zoom border color, set the background-color. Do this in source mode by entering style="background-color:yellow;"(yellow example).
The border color is then used for the next images until the color is changed again. The default is white.
See this link for Color Names
After you create the JVautozoom div sections, add this script to the end your page in editor source mode
<script src="https://www.classcreator.com/000/7/7/0/13077/userfiles/file/html/JVautozoom.js"></script>
EXAMPLE
All html and image before this point stay as they are.
Start of ZOOM images 1
<div id="JVautozoom">

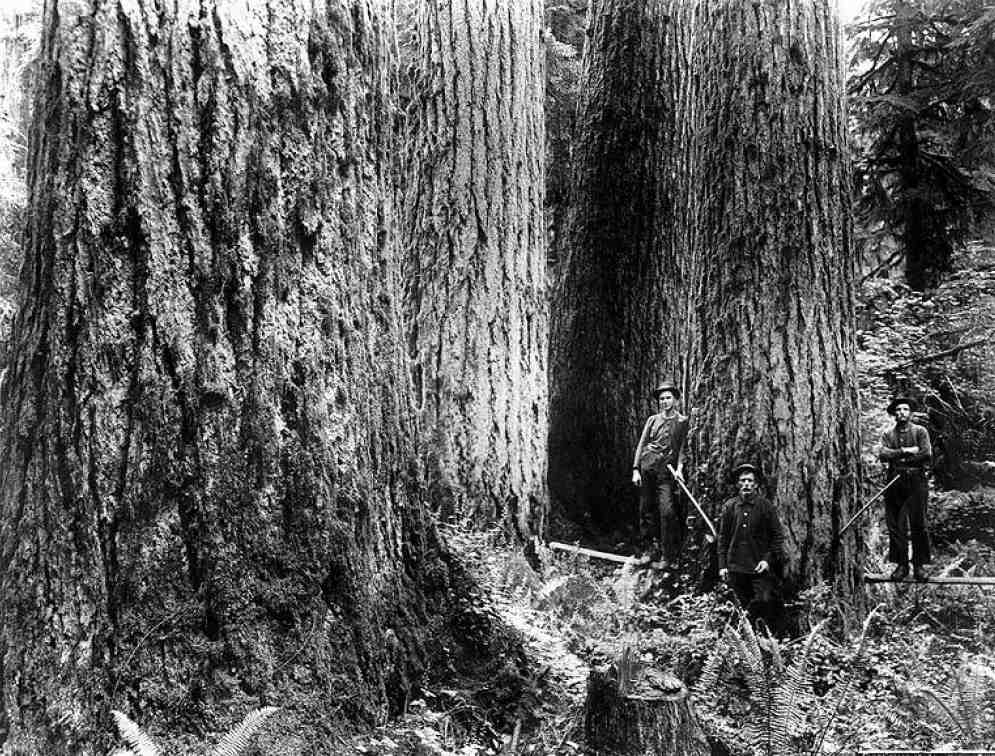
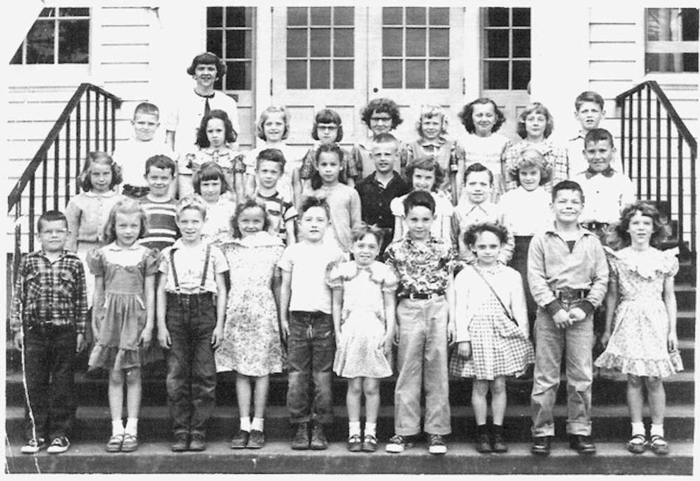
</div>
Above </div> markes the End of First Images that have the ZOOM feature added.
The next Balloon image does not have the ZOOM option added since it is outside the div controls.

Start of ZOOM images 2
- all images past this area defined by the "div" have the ZOOM feature added.
<div id="JVautozoom">
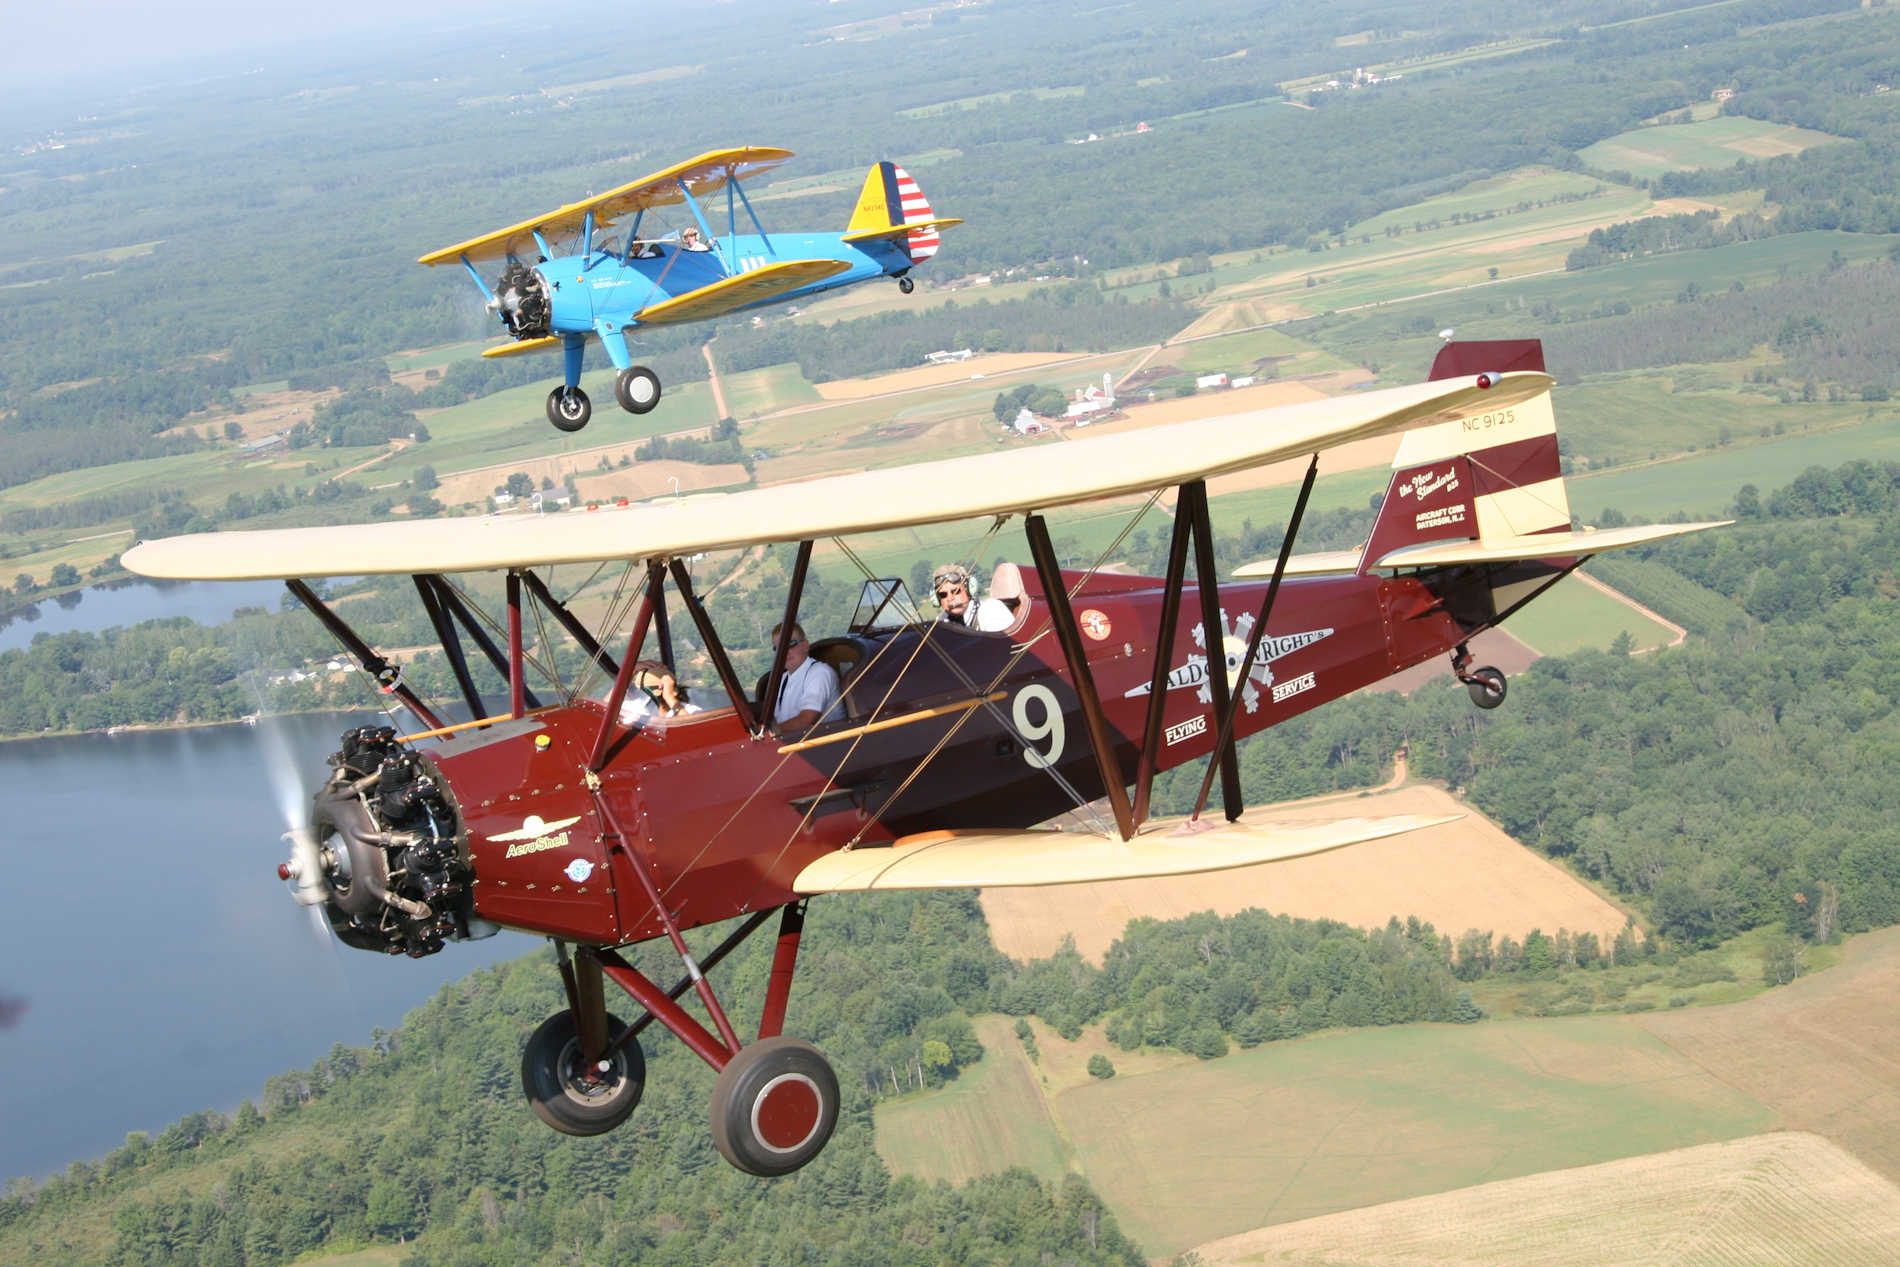
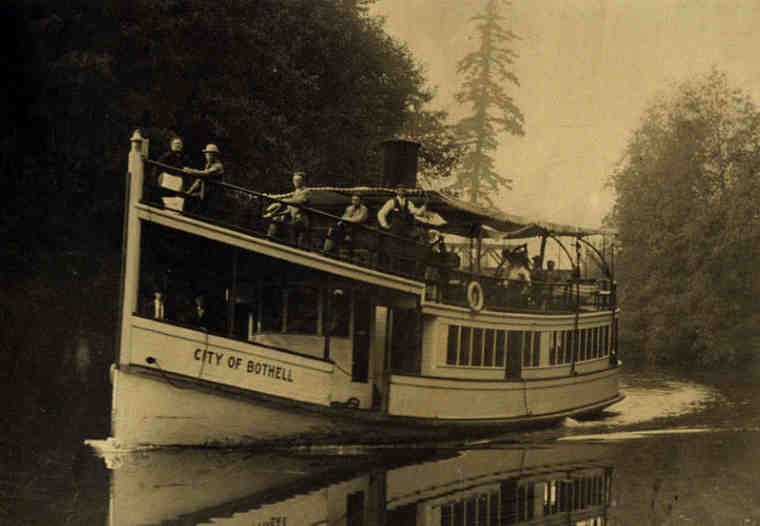
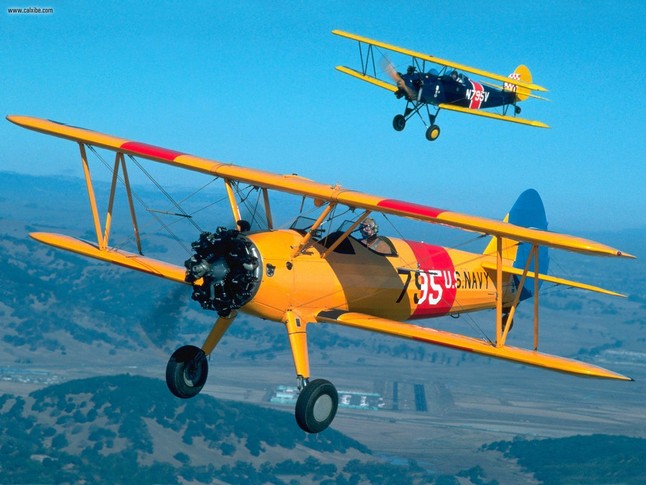
</div>
Above </div> markes the End of Second set of Images that will be combined into a Gallery Section
Start of Gallery images 3
<div id="JVautozoom">
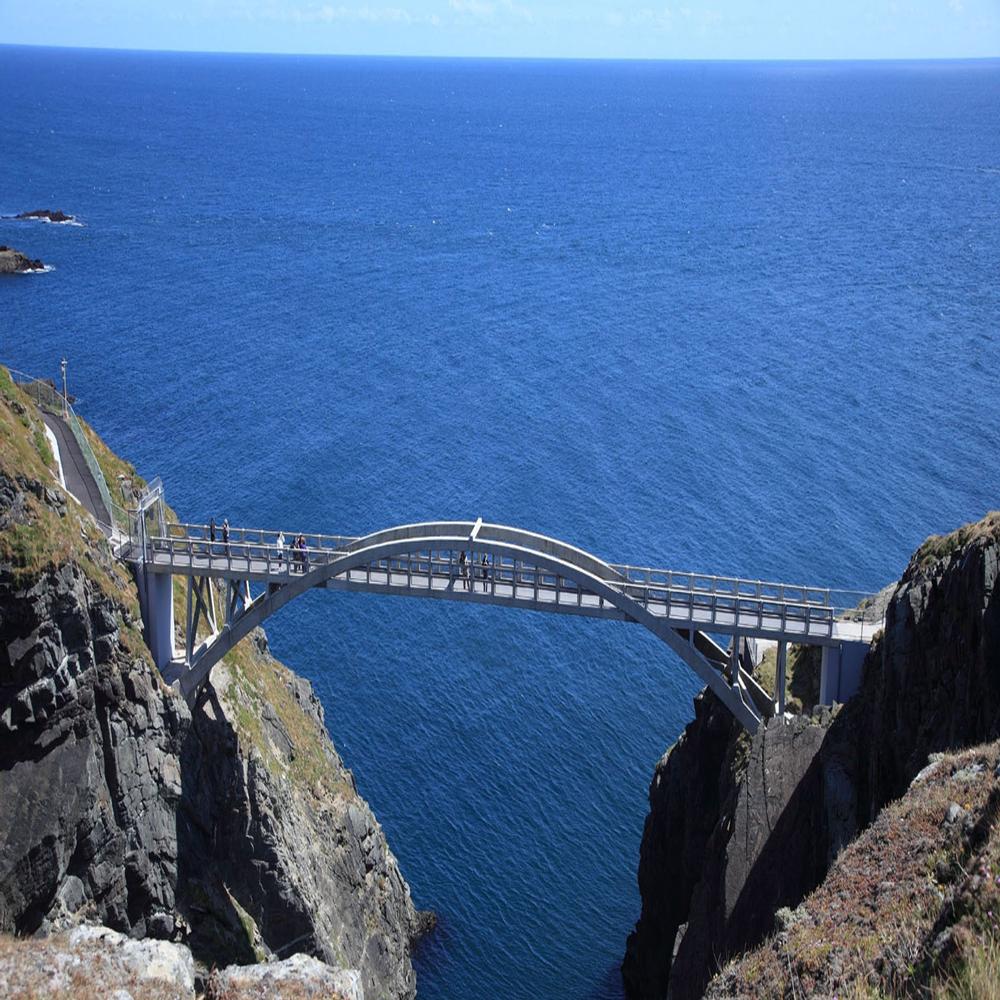


</div>
Above </div> markes the End of Third set of Images that will be combined into a Gallery Section
All data and images after the "DIV" is displayed again
