JVphotocube Docs
JVphotocube is a script that takes Class Creator Gallery images or individual images from your file vault or any other location. JVphotocube has four different types of viewer selected by you. Each option has a fullscreen view of each image one at a time as an option. Images are much larger than Class Creator's viewer.
JVphotocube displays images using one of the following:
1. Defined in the array named JVphotocube=[ ];
2. Defined via the &Photolist= parameter
3. Defined in any gallery created by you or a classmate. See &embed &member options (for Responsive Designs pnly)
The Images not in a gallery can be from any location - they don't have to be in a Class Creator Gallery. One alternate location is the Class Creator File vault which keeps the size of any photos you upload and allow higher quality displays. You can also use the Image file vault. Images there are resized to a smaller resolution if they exceed 1024 pixels in size. The JVphotocube displays showing the top of this documentation are examples using direct links. Images can also be stored in other website locations.
The four different display style options are selected using the display= option value.
The various sample pages demonstrate how it combines all the images from a Class Creator gallery into viewers that all can be clicked to zoom to a full screen view of every image. Change the ?display=3 to whatever type of display preferred. See options in table below.
[** Class Creator Gallery Page View options **for Responsive Design Sites Only **]
To replace the Class Creator Gallery** view with JVhotocube, open the Editor Page for the gallery, click on Source Mode, paste this into the editor for a gallery and press continue on the page. To use the Class Creator** gallery to display just a preview image and then use other images directly from your file vault (or any other external image link) the array or PhotoList can be added in the main gallery source.
If you want to retain the small Class Creator** preview images add this in the editor in Source mode (normally not recommended)
<script src="https://www.classcreator.com/000/7/7/0/13077/userfiles/file/html/JVphotocube.js?display=3"></script>
Array option example
The array format can be used for both the old "classic" and the new Responsive Design sites. The only one that is restricted to Responsive Design are those that use images from the galleries without using a URL to designate. In arrays or img options all the images specified are shown with a JVphotocube display. You can add a description for each image after each URL. The description is shown when a user hovers over an image or displayed below the image in magnified mode.
var JVphotocube=[
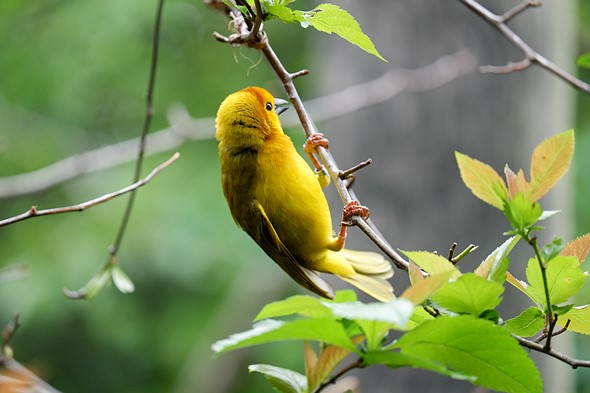
"https://www.classcreator.com/000/2/2/9/38922/userfiles/image/bird1.jpg Canarie", // first sample image location
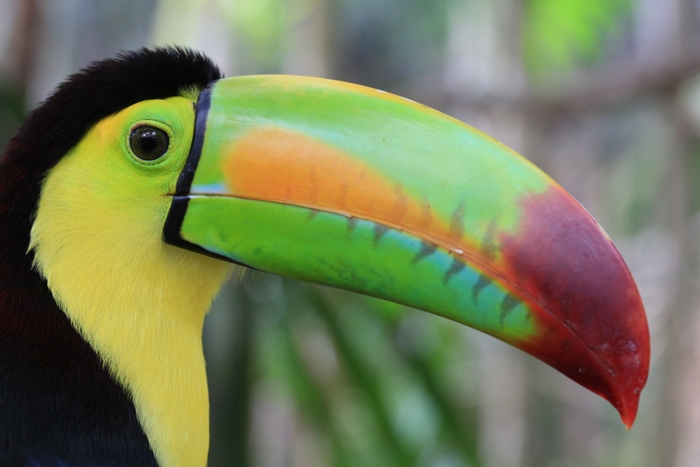
"https://www.classcreator.com/000/2/2/9/38922/userfiles/image/bird2.jpg Parrot",
... more images ... image links stored in your file vault or any other source with a comma after each one
"https://www.classcreator.com/000/2/2/9/38922/userfiles/image/bird16.jpg Bird Description" // last image no comma ( , ) at end
]; // last entry REQUIRED
</script>
<script src="https://www.classcreator.com/000/7/7/0/13077/userfiles/file/html/JVphotocube.js?display=3"></script>
PhotoList option example
The PhotoList parameter option is similar to the Array option. It is slightly simpler. There are NO quotes as in the Array example. However, be careful that quotes or commas are not part of the image URL. This option can also be used for both the old "classic" and the new Responsive Design sites. You can add a description for each image after each URL. The description is shown when a user hovers over an image or displayed below the image in magnified mode.
?display=3",
&photolist=
https://www.classcreator.com/000/2/2/9/38922/userfiles/image/bird1.jpg Canarie, // first sample image location
https://www.classcreator.com/000/2/2/9/38922/userfiles/image/bird2.jpg Parrot,
... more images ... image links stored in your file vault or any other source with a comma after each one
https://www.classcreator.com/000/2/2/9/38922/userfiles/image/bird16.jpg Bird Description // last image no comma ( , ) at end
&more optional parameters
</script>
</script>
Embed option example
4. JVphotocube** can embed any Class Creator gallery on any of your pages [** this is for the NEW responsive design only **]. Add the code below in the editor in Source mode on the page where you want the gallery to be displayed. embed= is a list of all the Class Creator galleries you want displayed. The number is the number shown in the URL for the gallery after id=. For example, a gallery from this site is https://www.classcreator.com/Script-Washington-2000/class_gallery.cfm?gallery_id=62594 The id is 62594. You can have more than one id separated by commas.
For example: ?embed=64342,63960,63941,62594,63936,64087 combines 5 galleries into a single JVphotocube display.
NOTE: You can use only ONE display using embed per page.
The code below embeds the gallery 62594 on that page. All other gallery options can be added.
<script src="https://www.classcreator.com/000/7/7/0/13077/userfiles/file/html/JVphotocube.js?display=3&embed=62594"></script>
Refer to JVphotocube Sample links to see variations
Parameters/Options to control JVgallery - default values shown if not entered
|
Parameter Option Names
(All optional to override default values shown) |
These parameters are entered right after JVphotocube.js
First parameter entered always starts with ?, all the ones following start with & |
|---|---|
| ?display=3 | The type of display 1 = image slider with user controls 2 = rotating cube 3 = carousel 4 = flipper display 5 = image slider without user controls |
| &height=300 | Image height for all displays: minimum height = 50 |
| &width=400 | Image width for display types 2,3,4 |
|
&responsive= 0.25 to 1.0
|
Responsive display images take up approximately the full size of the display or as defined by the area you put it in. html "div" areas can be defined by height and width styles, so if the JVphotocube data is defined inside that div, the display are is confined to that area. Image size ratios are set by the height and width ratios defined. Cube is always a cube. Responsive is recommended for most displays but sometimes you may want to make it a specific size. Responsive defaults sizes vary according to display types. 0 is not responsive and the images use the height and width values. Values range from 0.25 to 1.00 A value of 0.25 would be 1/4 the maximum page size, 0.50 would be 1/2 and so on. 1 is the maximum. |
| &autostart=0 | Display type 1 only. Slides start moving automatically - 0=do not start sliding, 1 = automatically start sliding (0 is recommended since older computers might get slow response). |
| &speed=6 | Initial speed of slides: range 1 to 50. The amount slides move or change per time interval. The value determines approximately how long it takes to change an image. User can interactively change the speed with buttons for display type 1. The speed depends on your image sizes and the number of images. So change this to suit. |
| &speedchange=100 | Set much slide movement speed changes for display type 1 user buttons - minimum=10, maximum=200 |
| &slidercolor=silver | Color of surround for slider (use zoomcolor for zoomed image) |
| &bordercolor=none | Color edge for images for display types 2,3,4 |
| &hoverzoom=1.05 | Amount image size magnifies when mouse hovers over an image. Display=1 Slider with controls only works if inside an iframe (a quirk in browser code). |
| &shuffle=0 | Shuffles first image to a random image - enter 1 to pick a random starting image |
| &photocubeid=JVphotocube |
Images are placed at the location defined by The div is optional. If there is no "div", images are placed at the location of the script as an iframe. Except if the script is used on a Class Creator gallery page. If this is not used then all the preview images are replaced by JVphotocube. Using the "div" on a gallery page keeps the Class Creator images on the page. See other gallery links for examples. Modify names (or omit) if you want more than one gallery on a page or want to limit zoom sizes. This creates an iframe. Iframe options set the color and total size. See JVPhotoCubeIframes for examples. |
| &photolist=URL list of images | Optional method to supply images. Each URL can have a description. The URLs are separated by a comma. The last one does not have a comma. Do not use ampersand (&), comma(,) or quotes(' ") in the descriptions. Example: &photolist= https://www.classcreator.com/000/2/2/9/38922/userfiles/image/bird1.jpg Canarie, // first sample https://www.classcreator.com/000/2/2/9/38922/userfiles/image/bird16.jpg Bird Description // last image no comma ( , ) at end |
| &zoomautostart=1 | when images are zoomed, automatically starts advancing to next image - 0 = do not automatically advance. |
| &zoomspeed=7 | Zoom slide delay: range 1 to 30 seconds |
| &zoommax=9999 (3 if zoomwidth is less than 300) | Maximum zoom for zoomed images (triggered by zoomwidth, but defaults to 3 if below 300) |
| &zoomwidth=300 | Minimum width before zoommax is applied |
| &zoomcolor=silver | Color of surround for zoomed images |
| &iframecolor=snow | Color of iframe. See JVphotocubeIframes for examples |
| &iframezoom=1.5 | Magnification amount to allow for zoom in an iframe - 1 to 5. This increases the size of the iframe as specifid by sliderheight. For example, the defaults make an iframe with a height of 450 to contain the zoomed image. |
| &embed=12345 | [**for Responsive Design Sites Only **] One or more Class Creator Gallery ids separated by commas. The gallery id is displayed in the URL when you click on a gallery. For example the URL https://www.classcreator.com/Script-Washington-2000/class_gallery.cfm?gallery_id=62594 identifies a gallery with an id=62594. Multiple ids can be entered separated by commas. For example: &embed=64342,63960,63941 combines three galleries. All multiple ids entered are combined into a single JVphotocube display. You can use only ONE display using embed per page. You can combine images defined by the array method with the &embed option. |
| &member=12345 | One or more Profile member ids. Only 10 images can be obtained this way from a profile. You should only put this on profiles that are not protected or on a page that is protected. For example: &member=8706834,8706839 gets a maximum of 10 images each from two profiles for a total maximum of 20. The same rules apply as stated for &embed. |
| &embedmember=0 |
Set to 1 to select a specific gallery if you have a gallery where any classmate can upload images. Setting this option selects just a single specific gallery identified by embed -and- member. Otherwise ALL the galleries on the page are selected. Only a single member can be selected. |
|
Buttons for display=1 |
Button Descriptions
|
  |
Slide Left, Slide Right for Slider -- Previous, Next Slide for Zoomed |
  |
Play, Pause slides |
  |
Decrease, Increase speed |
 |
Shows the rate of speed. (Longer is faster). |